Formerly known as Bard, Gemini is Google’s advanced AI language model, offering a Multitude of capabilities beyond simple question-answering.
From crafting creative text formats to generating code and even images, Gemini can be a valuable tool for students, writers, professionals, and anyone seeking an AI collaborator.
But how do you unlock its full potential and generate the responses you need? Let’s dive in!
Mastering the Interface:
Let’s break down the key elements of Gemini AI interface:
1. The Chat Window:
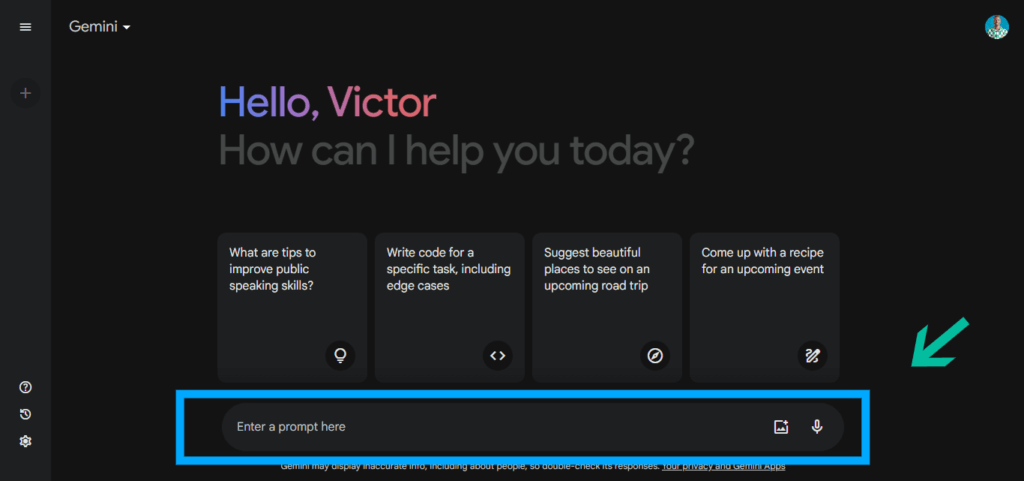
- This is your primary interaction zone. Here, you type your prompts, questions, or instructions and receive Gemini’s responses.
- Pay attention to the cursor: It changes color to indicate different modes like text, code, or image input.
2. The Side Menu:
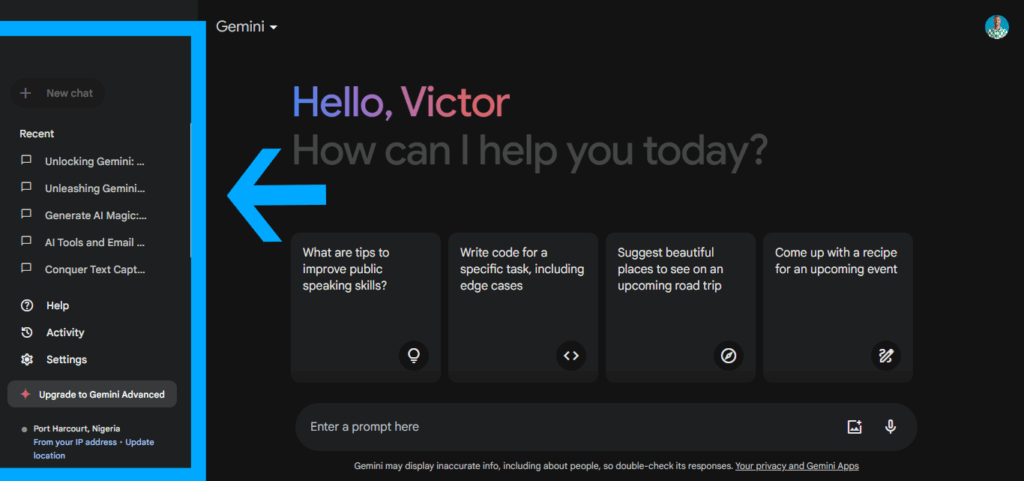
- This handy panel offers various functionalities:
- Start a new chat: Begin a fresh conversation with Gemini.
- Access history: Review past interactions and responses.
- Explore features: Discover advanced functionalities like image upload and code generation.
- Settings: Customize response length, temperature (creativity), and privacy preferences.
3. The Response Area:
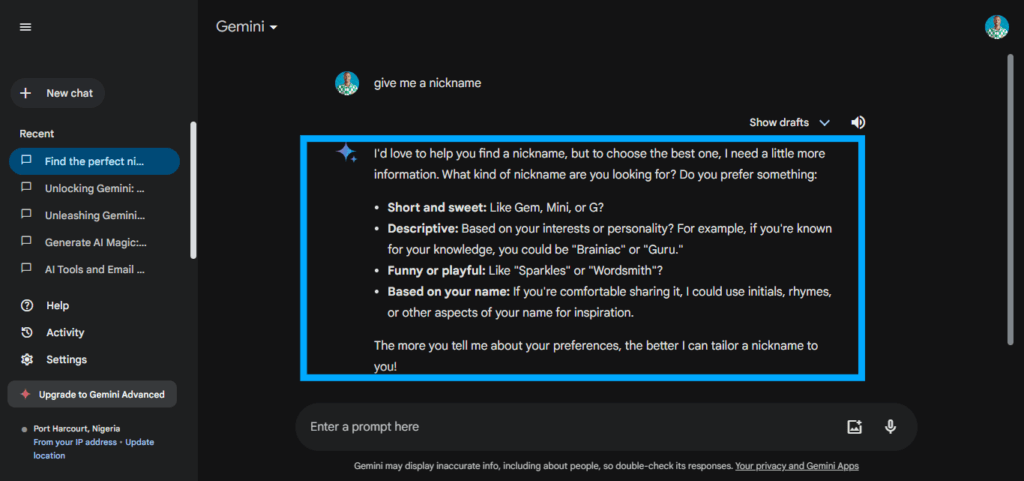
- Here, Gemini displays its response to your prompt.
- You might see multiple drafts at times; choose the one that best suits your needs.
- Use the “thumbs up” or “thumbs down” buttons to provide feedback and improve future responses.
4. Additional Buttons:
- “G” icon: Verify information with real-world sources to ensure factual accuracy.
- “+” icon: Add context or instructions to your prompt for a more nuanced response.
- Translation options: Translate your prompt or response to different languages.
5. Pro Features (if applicable):
- If you have a Pro subscription, you’ll see additional options:
- Edit code: Modify generated code directly within the interface.
- Longer responses: Get more detailed and comprehensive outputs.
- More creative control: Fine-tune the style and tone of your generated text.
How To Generate Response From Gemini AI
Follow this easy steps to generate a response from Gemini AI:
- Step 1: Type your prompt in the chat window and hit enter.
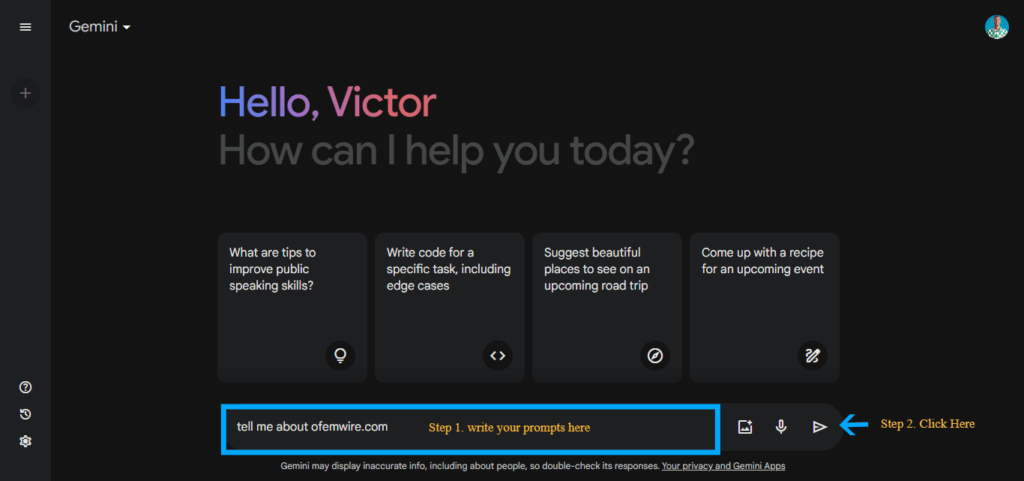
- Gemini will analyze your prompt and generate a response.
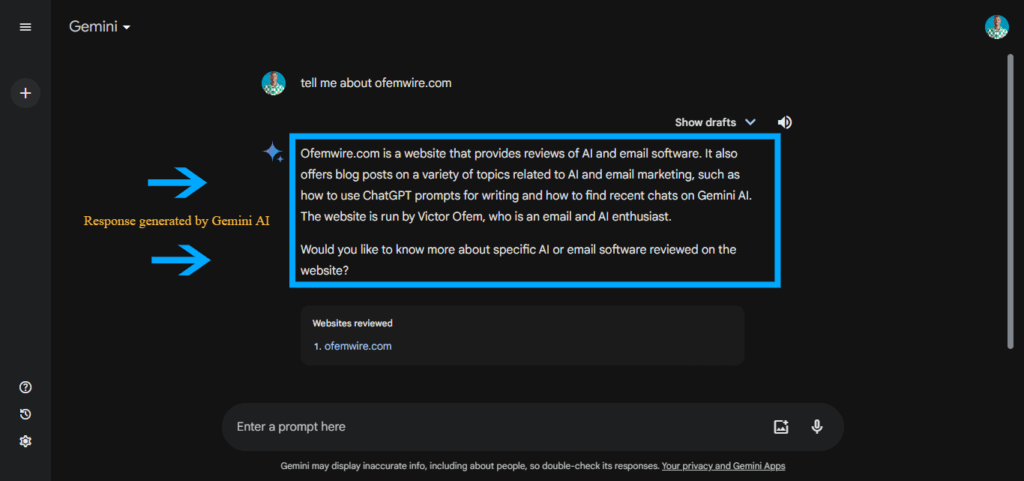
- You may receive multiple response drafts. Choose the one that best suits your needs.
- Use the “thumbs up” or “thumbs down” buttons to provide feedback and improve future responses.
Remember:
- Clarity is key: Be specific and clear about your desired outcome in your prompts.
- Experiment: Try different prompts, features, and settings to discover what works best for you.
- Respectful interactions: Treat Gemini with respect and avoid offensive or discriminatory language.
Bonus Tip: Explore our blog for detailed tutorials, use cases, and inspiration about Chatgpt and Gemini AI.


3 comments
I’ve been looking around for good articles or blog posts in this area. I found this site while searching on Yahoo.
After reading the articles here, I’m happy to say that I found exactly what I was looking for. I’ll definitely keep coming back to this website regularly.
Thanks, I’m glad you like the articles here